

MyGolfSpy.com Review – BirdieBall Giant Putting Green
BIRDIEBALL GIANT PUTTING GREEN OVERVIEW
(By: GolfSpy Tim) I’ve wanted to try a putting green in my office space for a while, but never could get myself to pull the trigger. I may be a gear junky, but I tend to be cheap at the same time. BirdieBall’s Giant Putting Greens are by far the most budget conscious greens I’ve found, and that’s what initially drew my attention to them.
Any other putting greens I’ve seen close this price range seem “cheesey” and more geared toward something your grandmother would buy you for Christmas because she heard you liked golfing, ie: small and gimmicky – less geared toward really practicing putting.
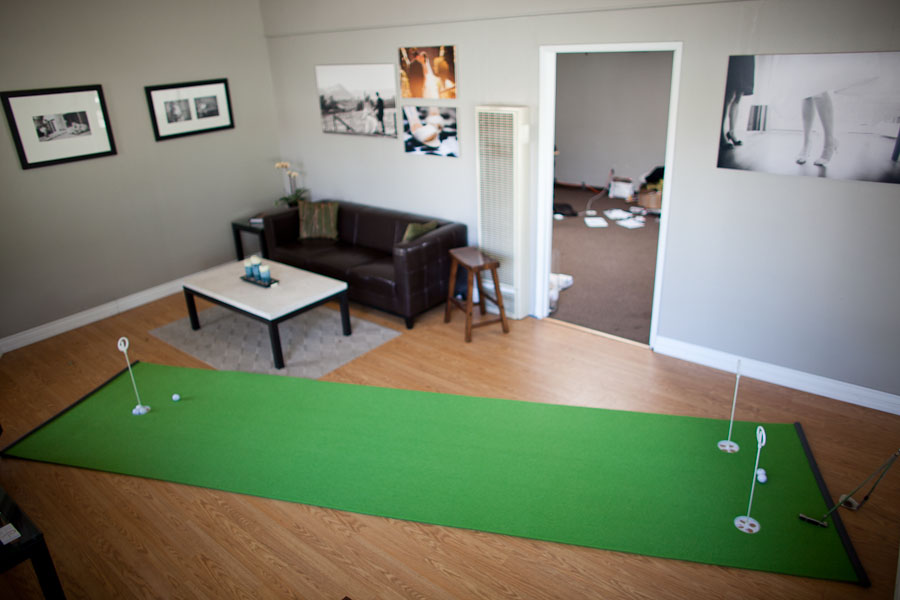
Not so with the BirdieBall Giant Putting Greens. They’re just that, giant. The putting green I received is 4 feet wide and just over 14.5 feet long. (originally they were going to send me an 18 foot green and I’m glad they didn’t, I don’t think I have room for it at home or in the office)
In selecting my green I also liked that they offered a variety of stimp choices from 9-13. I selected a bi-directional, dual stimp green. When putting toward the two cups the stimp is 10-11 and when putting toward the single cup the stimp is 11-12. This dual stimp is definitely very noticable when putting on the green.
INTIAL SETUP
Never having setup a putting green before, I was anxious for the box to arrive and to start pulling things out and get putting. When the box arrived it was clear that this was no small putting green. The box is just over 4 feet tall, and measures 14×14″ – Which just so happens to fit perfectly in the back seat of our small sized 4-door sedan.

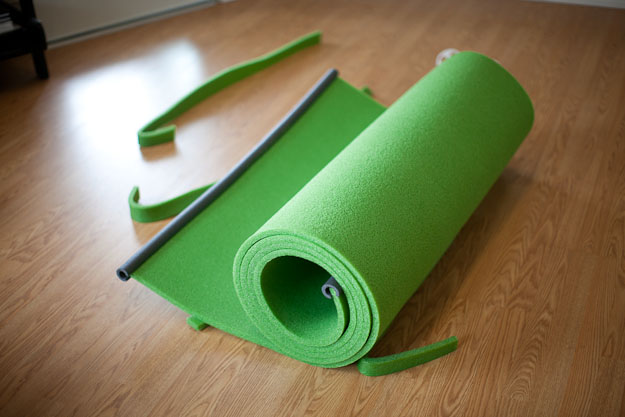
The putting green comes rolled up in the box, pulling the green out and unrolling it was simple enough. I initially just let the green unroll naturally, but then quickly realized it was “upside down” – turns out only one side is the putting surface, and this was immediately apparent. (BirdieBall has informed me that they are now shipping their greens with stickers indicating which side is the putting surface) I didn’t need to make any special effort to get the putting green to lay flat.
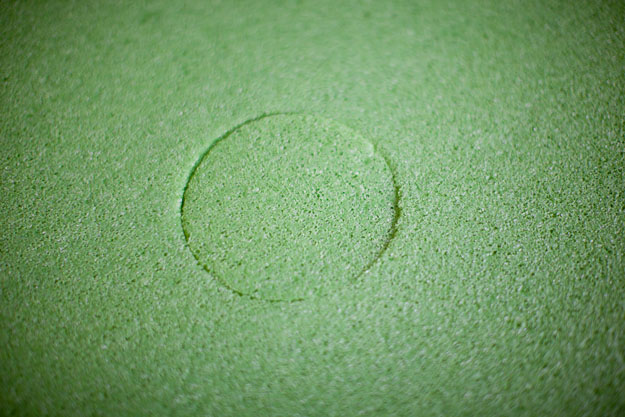
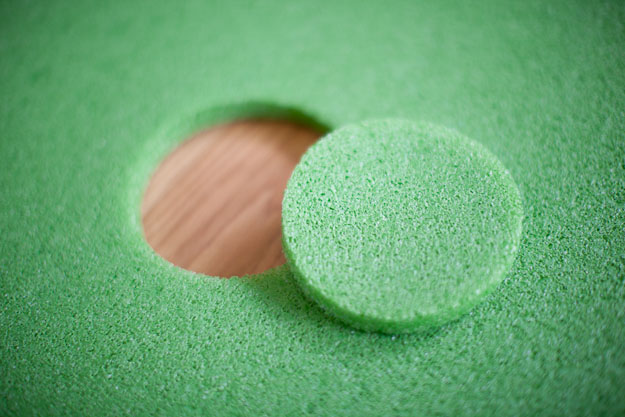
Having unrolled the green and situated the putting surface correctly, it was time to install the cups and the flags. The BirdieBall green’s surface has cut-outs to allow the ball to drop into a cup without adding any incline. (I really liked this feature as I’m a bit hesitant to practice putting at an include up on every putt)


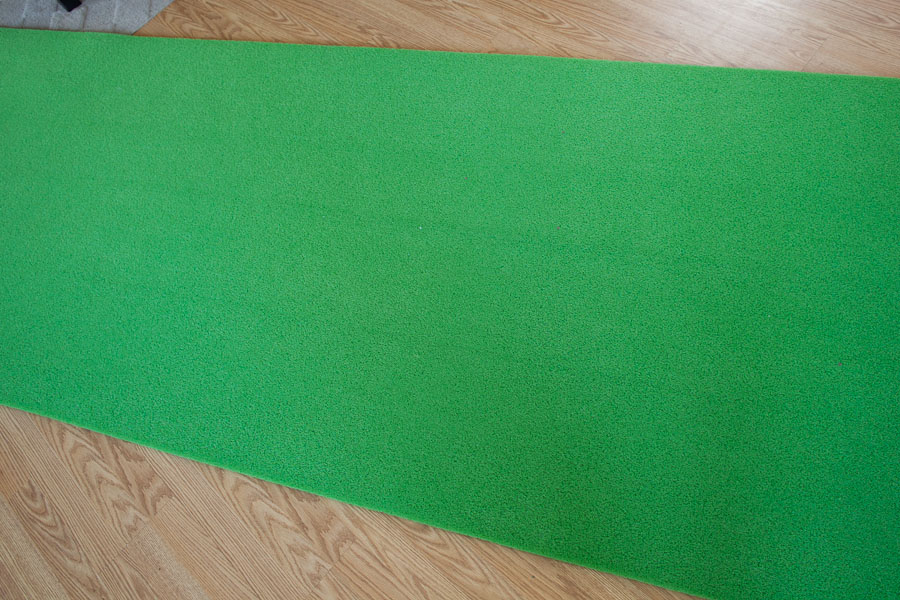
The green comes pre-cut for the cup placements and the cut-outs pop out with ease. (note in these two photos that I took photos of the green while it was still upside down – after taking these pictures I realized the two sides of the green differed in texture)
At this point I’m also realizing just how big this green is. The front room at our studio/office started to seem a bit small with the green in place:
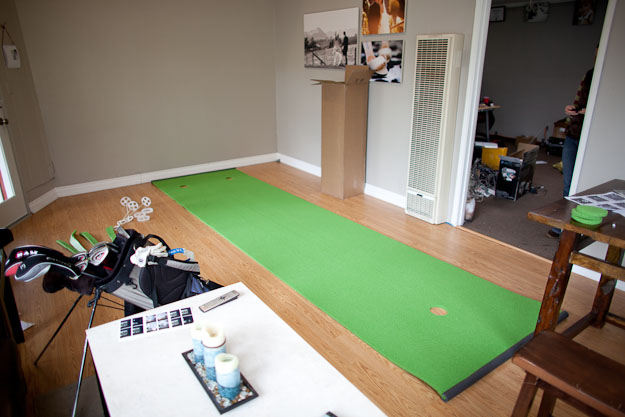
Being one who tends to avoid reading directions until later, I was at first a bit confused about the extra pieces of putting green material floating around, but figured they had some importance. (turns out, they are shims used to create contours in the surface – more on this later)
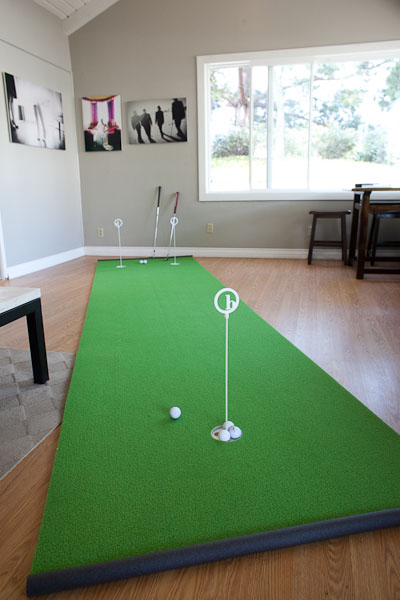
Sliding the cups into place and putting the flags into the cups was a breeze.

In less than 5 minutes I had the green setup and was putting.
SETUP SCORE: 30/30
PERFORMANCE
At first I was a little timid about stepping on the green. My first thought was I was going to ruin the surface and flatten it out, but my purpose here is to review the green and find out what happens, so I stepped onto the green. Under foot it’s pretty squishy, but feels good. Stepping off it quickly came back to shape. I was worried that I’d be putting on one end, walk to the other, and have huge divots where my feet had been, but this was not the case. The green always bounced back to shape and where I stood made no difference when putting over that same spot later.

With two cups on one end and one cup on the other, it was nice to have a variety of putting angles I could take on the green. After putting 6 balls one direction and feeling like I was comfortable with the green’s speed, I walked to the other end to putt back toward the other cups. Immediately upon taking my first putt in the opposite direction I remembered that the surface is setup with a dual-stimp. I needed to adjust the speed of my putts depending on which direction I was going.
Being 4 feet wide, I was drawn to putting “across” the green from edge to edge when putting in the direction of the two cups. But when putting toward the single cup which is setup centered at one end, I was drawn to putt just straight down the middle of the green.
I noticed a few times when putting straight down the middle that my ball seemed to hold a line abnormally. Upon examining the green more closely I noticed a few lines running parallel to the direction of my putts. I can’t say for sure that the lines are affecting the ball’s roll as I couldn’t continually replicate a putt that followed the lines that I can see, and when closely examining the surface, I can’t “feel” the lines with my hands, but it’s worth noting.
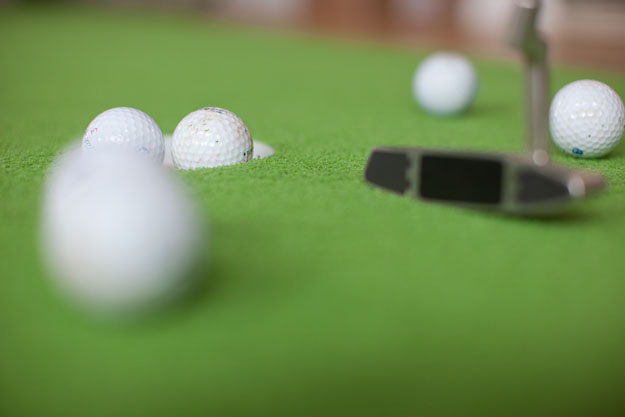
The cups for the green are almost the exact same height as the green itself, which I find regularly results in a putt riding the rim of the cup and rolling out the back rather than rolling into the hole as the ball should when catching that much of the cup’s edge. I think by just trimming 1/8″ off the top of the cups this problem would disappear and the ball would drop in more realistically.
Also, I’ve never liked putting to a flag. And the extractor flags that come with the green don’t have enough weight on the bottom to allow them to just drop into the cup and stay put, you have to daintily put them into place or they tend to just fall over. So after initially setting up the green with the flags, I set them to the side and never used them again. I guess if you have a bad back they would be a nice feature so you’re not bending over all the time (I’m sure I’ll be there someday, but not yet)

Another minor complaint comes from a few putts that I would sink, but were carrying enough speed that when the ball hit the bottom of the cup, the ball bounced immediately back out. This happened whether I had the green setup on hardwood, tile or carpet. Probably pretty minor, and realistically this will probably long term to teach me better distance and speed control, but I know on the course, those putts would sink and stay put.

Finally, the shims. After getting used to the putting green and the two different stimps, I decided it was time to pop the shims under the green to add some contour and create more of a challenge.
At first adding contour seemed like a really fun idea that would make putting more “realistic.” Not really the case. It felt more like I was playing a game of miniature golf. I think the shims are just a bit too thick and create too abrupt of contours. I know on their site BirdieBall suggests using the shims to attempt a “downhill” feel to your putt, and I think this could work. But, after attempting the “contour” idea and turning my green into a “miniature golf” setup, I tossed the shims to the side.

PERFORMANCE SCORE: 40/50
APPEARANCE AND QUALITY
At first look, the putting green looks like a large piece of foam, almost like you’d take camping to sleep on. The ends of the green are “capped” with what looks like plumbing/pipe insulation foam. The shims are simple, but by no means do they look like a finished piece, rather more of an after-thought.
Unrolling the green and putting in the cups and tossing some golf balls on it, the green comes to life. When putting on the green I never thought to myself, wow, I wish this green looked nicer. Sure, someone could probably find ways to make it look like a $1,000 green, but in the end, that just didn’t matter and I don’t question for a second setting it up in our studio’s front room where potential clients might walk by and see a putting green.
The quality of the green is solid. The green traveled between home, office, friend’s places, and back to the office. At different times I’ve had up to 5 people at a time taking turns putting for a few hours. The green does show a little bit of wear in the sense that it looks to be “bedding” down in a few spots where you normally stand to putt. I haven’t noticed this change my putting yet, and according to the instructions, if I take a stiff bristled broom and “sweep” the green it will pop right back to life. And if I really want to, I can even adjust the stimp by sweeping more in one direction or the other.
APPEARANCE AND QUALITY SCORE: 16/20
TOTAL SCORE: 86/100
SUMMARY
For a putting green that you can pickup through BirdieBall’s website today for only $149.99, I really don’t think you can go wrong. There a lot of other options out there, and most cost a significant amount more and often don’t come close to the size of this green.
I love that the green is as wide as it is. You can put across the green at different angles to the hole which helps keep me from getting bored of the exact same putt with just variations on distance. The fact that the ball is able to physically drop into a hole without having to go up an incline first is great. I truly do feel like the putting I’m doing at home or in the office is directly translating to my putting on the course – and to me, that’s what truly matters in a practice putting green.
A side note worth considering on BirdieBall’s longer greens – you can practice your chip shots on these greens as well. I tried a few different times and found the bounce to feel fairly realistic and it allowed me to really practice controlling super shot chips.
All-in-all, I really enjoy putting on the green. I don’t know if I could ask for too much more. There are a few minor things that could be easily improved, and at the same time, without those improvements, I don’t hesitate in suggesting this green to anyone looking for an at home surface to practice on.


Golficity
11 years ago
We have one of these BirdieBall units in our office as well. It’s quite a nice set. Love their outdoor stuff too.